A good photograph of an everyday object begins before you press the shutter. You decide what matters, find light that describes it and remove the distractions that make the picture harder to read. This exercise gives you a repeatable way to practise those decisions with the camera you already have.
By the end, you will have one considered photograph and a short note about how you made it. Set aside enough time to move slowly. The point is to compare a few deliberate choices, not to take as many pictures as possible.
Before you start
Choose a place you can leave undisturbed while you work. A small table near a window is usually enough for this exercise.
- A camera or phone with enough space for a short sequence of pictures.
- One movable object with a shape or surface you find interesting.
- A plain tabletop, sheet of paper or piece of fabric for the background.
- A notebook, or somewhere to record the change that helped most.
1. Choose one subject
Pick an object you can move easily and look at for a few minutes without becoming bored. A cup, a bowl or a folded piece of cloth is enough. The exercise is about noticing shape and light, so a familiar object is often more useful than something you chose only because it looked impressive.
Place it on a plain surface and remove anything that competes for attention. Look through the camera before deciding the background is clear. A socket, the edge of a chair or a bright patch beyond the table may be invisible to you in the room and unexpectedly prominent in the photograph.
2. Find the light that helps
Start near a window and turn off the other lights in the room. Mixing several light sources can make it harder to understand what each one is doing. Move the object slowly and watch the shadow. You are looking for a position that describes the shape without hiding the part that interests you.
If the light is direct and the shadow is very hard, try moving the object out of the direct patch of sunlight or returning when the light is diffused. There is no single correct result here. A sharp shadow can be useful, but choose it because it supports the photograph rather than because it was the first thing you found.
3. Choose your point of view
Before taking a long sequence of photographs, try three clearly different viewpoints. Look from the object’s own height, from a little above it and from overhead. Notice how much of the top and sides you can see. A small change in camera height can turn a familiar outline into a very different picture.
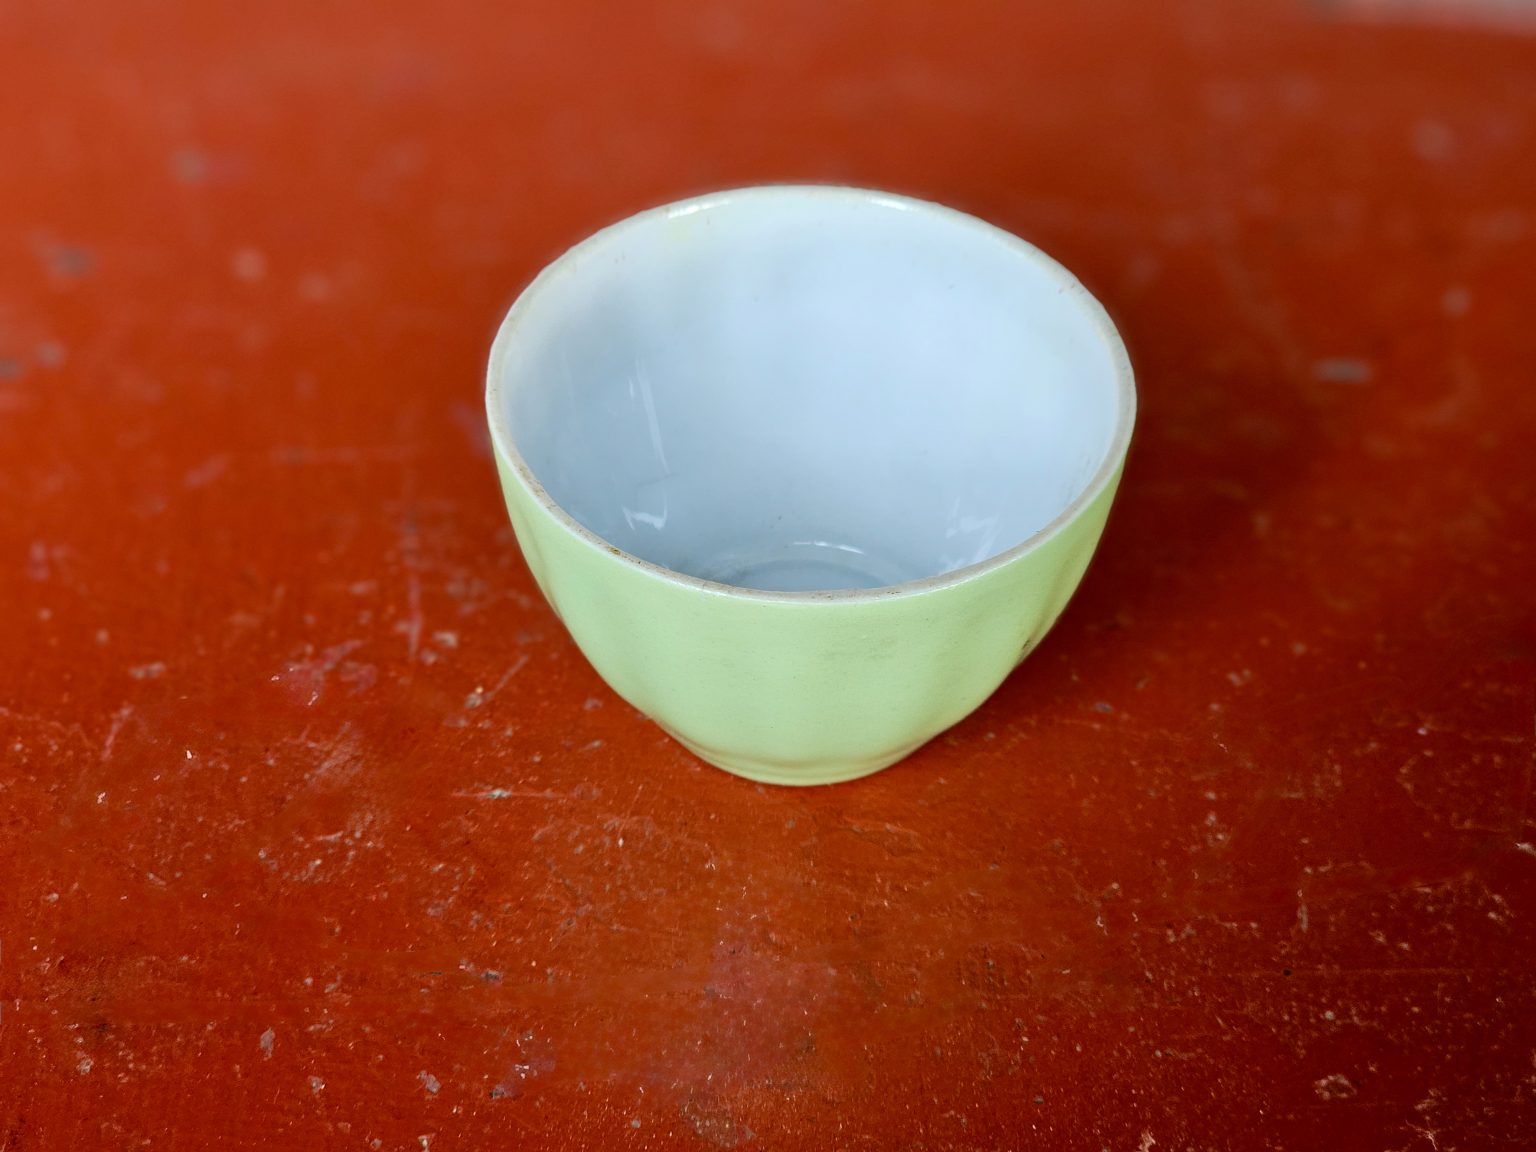
Choose the view that explains what you like about the object. For the bowl, a slightly raised position showed both the curved edge and a little of the interior. Looking straight down made it feel flat; looking from the table hid too much. The useful viewpoint sat between those two extremes.
A useful comparison
Keep the object still while you change the camera height. Then keep the camera position steady while you turn the object. Separating the two movements makes it much easier to understand why a frame has changed.
4. Read the edges of the frame
Once the subject feels right, look away from it. Check all four corners and trace the edges of the photograph. This is where a distracting cable, an awkward crop or a sliver of another object often appears. Moving the camera a few centimetres can solve a problem that would otherwise need attention later.
Leave enough space around the subject for its outline to read clearly. That does not mean centring it automatically. Try placing it a little to one side and compare the balance. Take one frame with more space than you think you need; it is useful to see the difference rather than imagine it.
5. Compare, choose and make a note
Put the camera down before reviewing the pictures. Looking at several frames together makes it easier to spot the useful changes. Choose the image that communicates the object most clearly, then compare it with your first attempt. Pay attention to the light, the viewpoint and the amount of space around it.
Write one sentence about what improved the photograph. “Raising the camera revealed the inside of the bowl” is more useful than “the last one looks better”. The note gives you something specific to try next time, even when you are working with a completely different subject.
Before you finish
- The subject has a clear outline and the chosen viewpoint shows the part that matters.
- Nothing distracting touches an edge or competes with the main shape.
- You have compared different positions and can explain why you chose this one.
Keep the first frame as well as your favourite. The pair records what you learned and gives the next exercise a useful starting point.