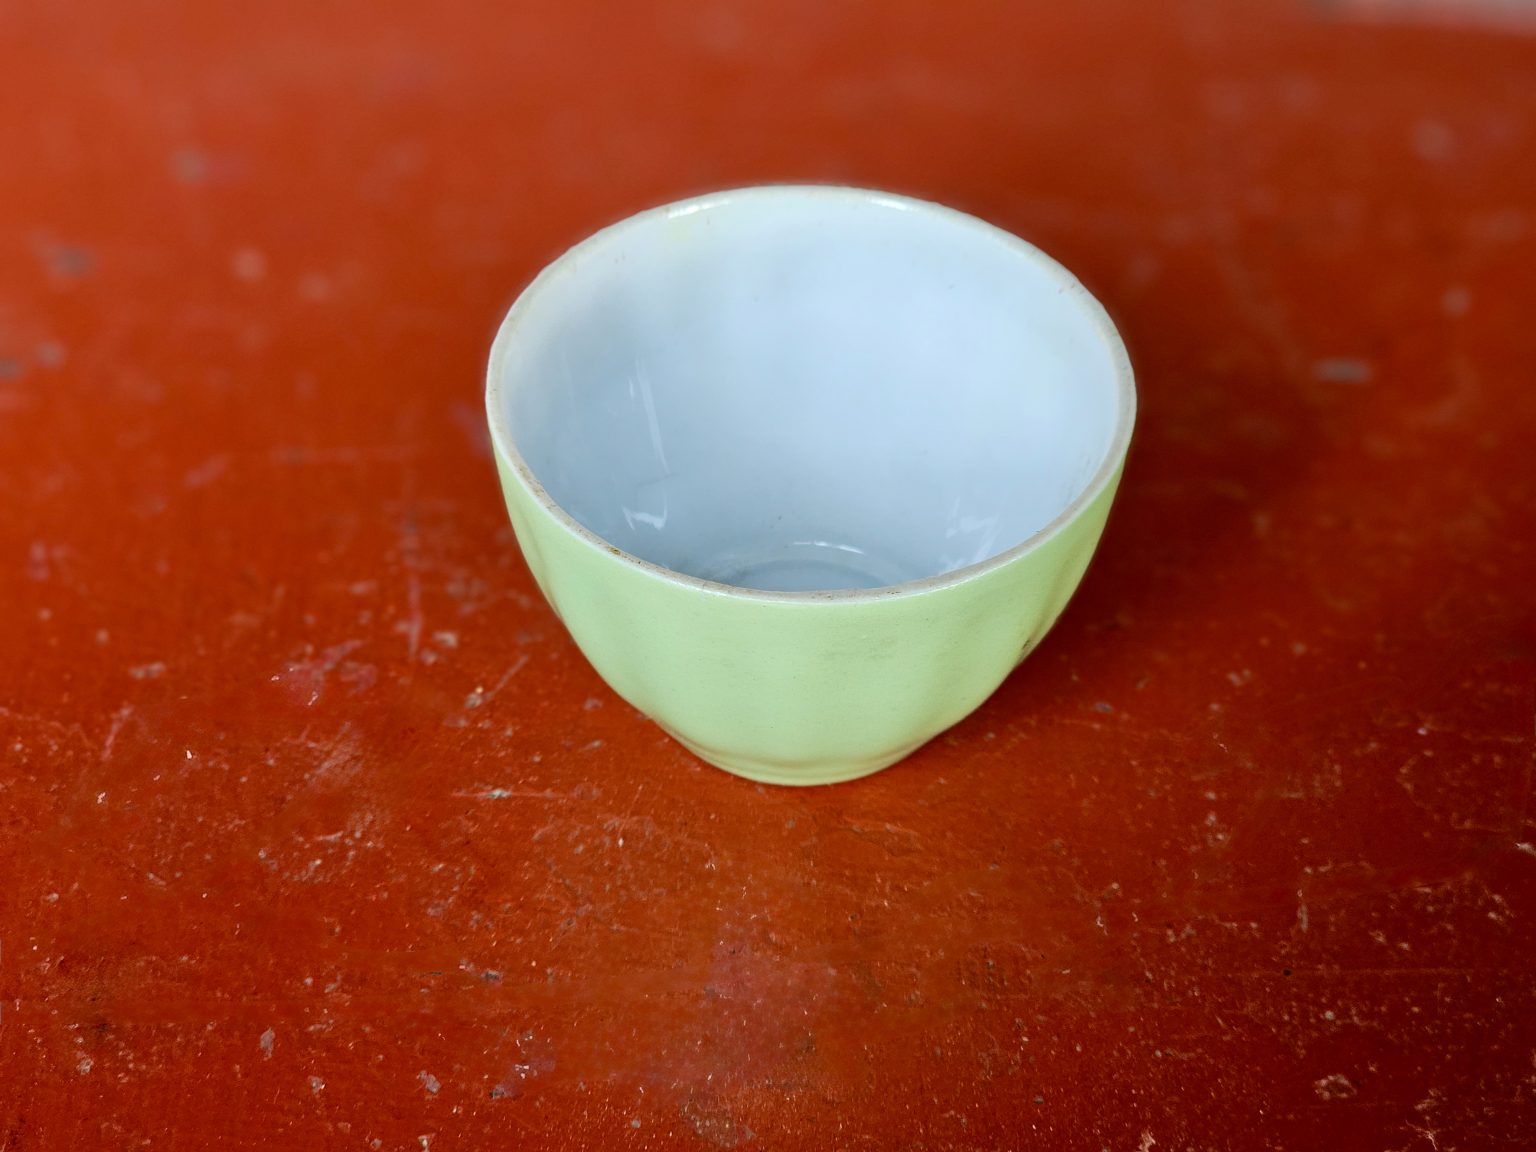
The finished example
One object. A better look.
This simple still life began with a bowl, a window and an ordinary tabletop. Follow the working notes to see how the final photograph came together.
- One object and a clear surface
- A camera or phone
- Natural light and time to compare
A finished photograph hides most of the work that made it possible. The useful decisions are often small: raising the camera, turning an object or leaving a little more space at the edge. This walkthrough follows those decisions so you can try the same process with something already in your home.
Use the opening image as a result to inspect, not a composition you have to copy exactly. Your object, room and light will be different. The aim is to notice which relationships make your own photograph clearer.
Step 01
Set up a simple working area
Begin with a surface you can reach from more than one side. Move the clutter away before you bring in the object, then look at what will sit behind it in the photograph. A plain background makes it easier to judge the outline and keeps the exercise focused on the choices you are making.
We placed the bowl near the edge of a table so the camera could move freely around it. There was no need for a special backdrop. The existing surface gave the photograph a clear ground, while leaving enough room to change the viewpoint without rebuilding the arrangement.
Step 02
Make a frame you can learn from
Take an initial photograph before trying to make everything perfect. This is your reference frame. It records the starting position of the object, the direction of the light and how much space you left around the subject. Comparing later pictures with this one makes the effect of each adjustment easier to see.
Look at the reference frame and name one thing to improve. In our case, the inside of the bowl was difficult to see. Rather than change the light and the object together, we raised the camera slightly and took another frame. The improvement was clear because only one relationship had moved.
Step 03
Shape the light around the object
Move the object a small distance away from the window and compare the shadow. Then turn it slowly. Even a simple bowl has a different character when the light catches its rim from another direction. Watch for bright areas that pull attention away from the shape you want the reader to notice.
We kept the soft reflection along the upper edge and allowed a darker area underneath to show the curve. The aim was not to remove every shadow. It was to make the light and shade work together so the object felt present on the surface rather than cut out and placed against it.
Step 04
Give the composition some space
Check the distance between the object and each edge of the frame. A close crop can make a photograph feel direct, while extra space can make it feel quieter. Try both. When you compare them, ask whether the empty area gives the subject room or simply leaves the picture without a clear centre of attention.
Our final frame kept more tabletop on one side than the other. That small imbalance gave the curve somewhere to lead the eye. We also checked that the rim did not touch the background edge. Tiny accidental meetings can become surprisingly noticeable once everything else in a photograph is simple.
Step 05
Keep the decisions with the result
Choose a final photograph and write a short note beside it. Record the position of the light, the camera height and the change that mattered most. The finished image shows what worked; the note tells you how to recognise the same opportunity when you meet it again.
A useful project record also includes what you decided against. We kept the overhead view because it explained why the lower angle worked better. You do not need to publish every experiment, but keeping a small selection turns one successful picture into a process you can repeat.
Review before you pack away
Place the reference frame beside the final image. Describe what changed in three plain observations, then choose the one adjustment you would make first if you repeated the exercise tomorrow.
- What made the shape easier to understand?
- Which part of the frame became quieter or more deliberate?
- What would you keep exactly the same next time?
Keep the notes with the photographs. A small, honest record of how you worked is often more valuable than a long list of camera settings without any explanation.